![]()
![]()
![]()
![]()
|
|
|
|
|
After loading, the second page 2. Original Images gets active. The loaded images are shown in the large image area and can be viewed with the standard controls.
The Norm section is to the left. Select Norm allows opening a database browser to look for a brain norm definition. Initially, the norm is shown which was used in the last analysis. If different norms are available we recommend different PMOD user accounts, one for each norm. The radio buttons allow to switch between the different image sets of the norm such as the normalization Template, the normalization Mask, the Norm images (MEAN, STDV, STDV POOL), and the Result Mask. The View Norm Info button pops up a dialog summarizing the different database parameters.
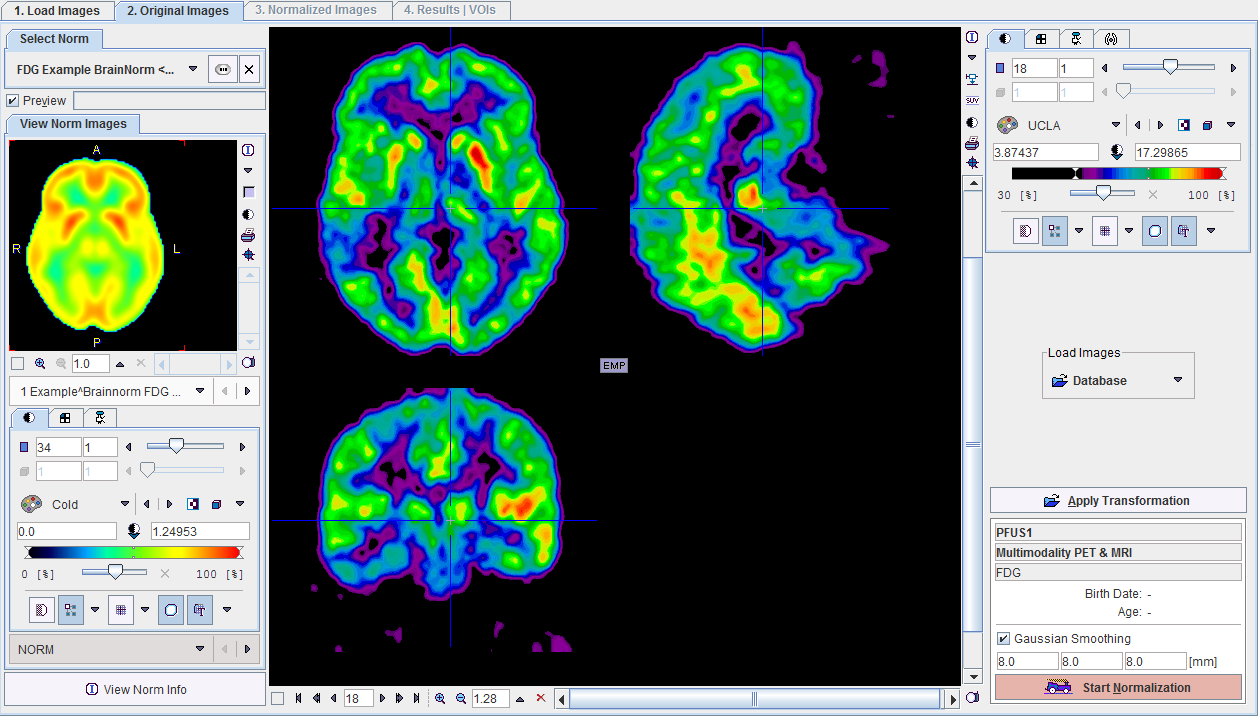
The Load Images button allows loading images from other sources than a database, and even in other image formats.
Note: Images loaded in formats other than DICOM must be checked for correct display orientations. Please load an image of this particular type wherein all three orientations can be unambiguously identified. Then, in the orthogonal planes view, the patient coordinates must match the radiological convention as indicated in the images above.
In the normalization section at the lower right the smoothing parameters are initialized by the definition in the brain norm. Their values can be overwritten if needed, for instance if a normalization procedure fails. The Start Normalization button starts the stereotactic normalization calculations. As soon as the calculation completes, the display switches to the third page 3. Normalized Images.
The Apply Transformation button allows retrieving a saved normalization transform, which is subsequently applied to the patient images.